 |
| Codeigniter Facebook Login Tutorial using Facebook PHP SDK |
Welcome to my new Codeigniter tutorial for Facebook Login. I assume that you are familar with Codeigniter framework before starting the tutorial. However, you can adopt the source code to use in native PHP application if you are not interested in CI. There is another alternative. Previously, I have published two posts related with Facebook Login. You can also refer those tutorials.
Facebook OAUTH dialog with new Graph API
AJAX Facebook Connect Demo
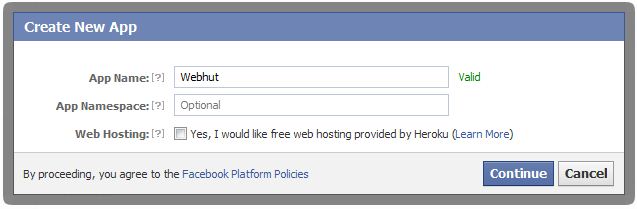
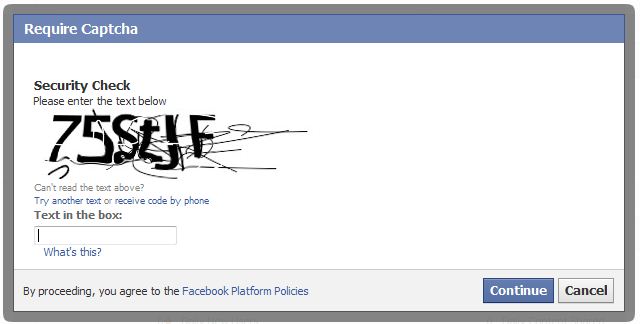
First you need to create a Facebook application.
Visit this
link to create new app.
This is a straight-forward process.


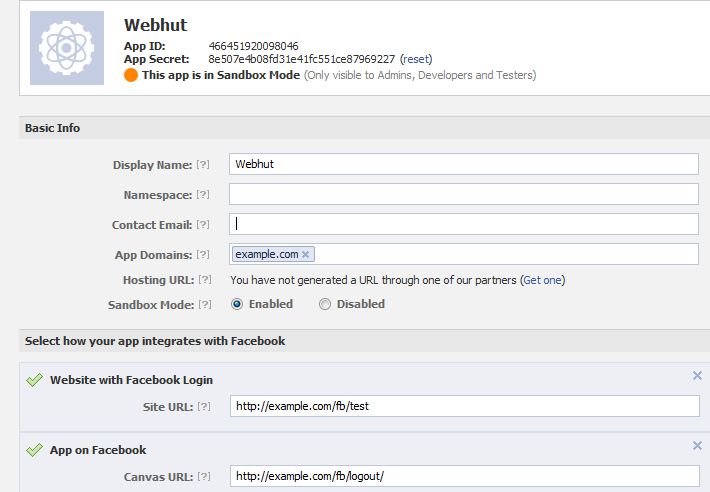
You need to get the App ID and App Secret of your application.
First create a config file to store App ID and App Secret.
config_facebook.php
$config['appID']    = 'YOUR_APP_ID';
$config['appSecret']    = 'YOUR_APP_SECRET';
Add a controller that handles Facebook login and logout.
fb.php
<?php
if (!defined('BASEPATH'))
exit('No direct script access allowed');

//include the facebook.php from libraries directory
require_once APPPATH . 'libraries/facebook/facebook.php';

class Fb extends CI_Controller {

public function __construct() {
parent::__construct();
$this->config->load('config_facebook');
}

public function index() {
$this->load->view('head');
$this->load->view('fb');
$this->load->view('footer');
}

public function logout() {
$signed_request_cookie = 'fbsr_' . $this->config->item('appID');
setcookie($signed_request_cookie, '', time() - 3600, "/");
$this->session->sess_destroy();  //session destroy
redirect('/fb/index', 'refresh');  //redirect to the home page
}

public function fblogin() {

$facebook = new Facebook(array(
'appId' => $this->config->item('appID'),
'secret' => $this->config->item('appSecret'),
));
// We may or may not have this data based on whether the user is logged in.
// If we have a $user id here, it means we know the user is logged into
// Facebook, but we don't know if the access token is valid. An access
// token is invalid if the user logged out of Facebook.
$user = $facebook->getUser(); // Get the facebook user id
$profile = NULL;
$logout = NULL;

if ($user) {
try {
$profile = $facebook->api('/me');  //Get the facebook user profile data
$access_token = $facebook->getAccessToken();
$params = array('next' => base_url('fb/logout/'), 'access_token' => $access_token);
$logout = $facebook->getLogoutUrl($params);

} catch (FacebookApiException $e) {
error_log($e);
$user = NULL;
}

$data['user_id'] = $user;
$data['name'] = $profile['name'];
$data['logout'] = $logout;
$this->session->set_userdata($data);
redirect('/fb/test');
}
}

public function test() {
$this->load->view('test');
}

}

/* End of file fb.php */
/* Location: ./application/controllers/fb.php */
In this tutorial, I'm using Facebook JavaScript SDK to load the oauth dialog. You need to add the App ID in following code to initiate the SDK successfully.
;?>)


 Google Map Multiple WayPoints
 Download Australian Postcode Data
 OpenLayers - How to add markers and popups
 How to access Session Bean from JSP in GlassFish
 OpenSource Directions API Demo - YOURS Navigation API
 Reverse Geocoding with Google Map API


